Vous pourriez avoir besoin de
Choice of colours
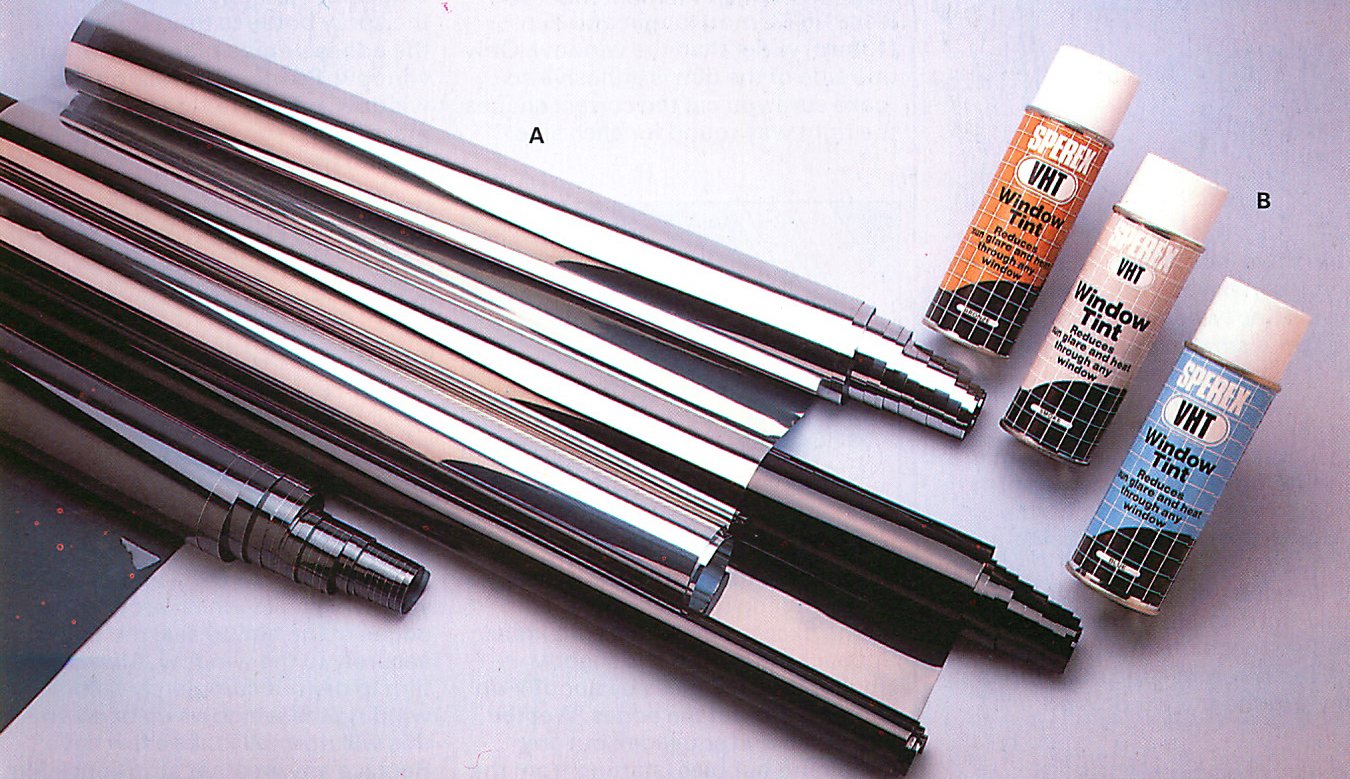
You can tint windows by sticking on or spraying on the tinted material. Both are available in a range of colours. The film-type stick-on tint (A), is shown here in three colours; bronze, smoke (blue grey) and silver mirror tint. The Sperex spray-on type tint (B) comes in an aerosol can and is available in smoke, bronze and blue.
More and more top-of-the-range cars are being fitted with tinted windows as standard. Tinted windows have practical benefits. They provide extra privacy inside the car, making it more difficult for a thief to peer inside for any valuables; they help to protect the upholstery from sunlight, which might otherwise fade the fabric; and they also help keep the interior cool.
You can buy ready-tinted windows from your car dealer and fit them in place of the old ones. But this is very expensive and involves a lot of work. It is simpler to tint the existing windows.
Tinting kits
This video course is the best way to learn everything about cars.
Three hours of instruction available right now, and many more hours in production.
- 4K HD with full subtitles
- Complete disassembly of a sports car

These are available from accessory shops in two forms - as sheets of plastic film that you stick inside the windows, or as a spray-on tint in an aerosol can.
The spray-on tint is the more expensive, but is quicker to apply and generally gives a better result on windows that are curved. The disadvantage is that you can end up with areas of light and dark unless you apply the tint very evenly. Stick-on tints take longer to apply and are generally more fiddly, but if you apply them carefully the result can be better than a spray-on because you get an even tint.
The tints are available in a range of colours - grey, green, blue, gold and even a mirror-effect tint rather like mirror sunglasses.
Legal restraints
There are legal restraints on tinting the front windscreen because of the possibility of reducing the driver's vision. Legally, any tint that you apply to the front windscreen must allow at least 75 per cent of the light to come through. And it is illegal to use mirror tints on the front windscreen because of the danger of dazzling other drivers.
If in doubt, it is safer not to tint the front windscreen, although you can put a narrow tinted strip on the top of the screen. Choose one that progressively fades away.
Tinting car windows
To get a good finish with stick-on sheets you need to work in a warm, dry area out of direct sunlight. The conditions need to be just right or the adhesive may not stick properly.
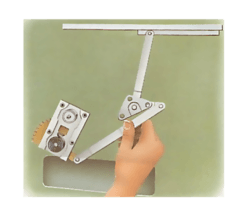
1. Remove weather strips
The tint film is applied to the inside of the window. First remove any weather strips from the windows. You may be able to prise them out, but on many cars you have to remove the door trim panels to which they attach.
2. Clean the windows
Clean the inside of the windows thoroughly, removing all traces of dirt and grime. Wet the window with a solution of washing-up liquid and water in a spray bottle (see kit instructions). Use a squeegee to wipe away excess water from the window and dry the glass completely with a chamois leather.
3. Measure and cut
Measure each window, then lay out the tint film and cut it to shape for each piece of glass. Cut the film at least 1in (25mm) longer and Yin (13mm) wider than the window. Only one side of the film is adhesive so make sure you cut the correct shapes the right way round for each side.
4. Sticking on
Carefully peel away the plastic backing covering the adhesive side of the tint film. Use the solution in the spray bottle to thoroughly wet the adhesive side of the film and the window. Position the film on the window, adhesive side facing the glass. Make sure the film overlaps all around the window.
5. Trimming down
Smooth the film out on the glass by gently pulling it at the edges. Trim off the excess film with a craft knife. Cut back the film so it is slightly smaller than the glass by about 1.5mm around the edges. Wet the film again and squeegee out an
6. Finishing
Carefully apply a thin layer of non-yellowing nail varnish around the edges of the film to seal the tint securely to the window. Allow the film to dry out completely before winding the windows up or down this will normally take a few days. Replace any weather strips once film is dry.
